Use your favorite brownie recipe and make them in cupcake liners as you would a cupcake.
Showing posts with label ice cream party inspiration. Show all posts
Hot Fudge Sundaes Brownie Bowls
When you have a craving for something sweet, you can not go wrong with ice cream! It is always totally satisfying! But, sometimes you just need something a little extra, something to put that delicious ice cream right over the top! Something like hot fudge, whipped cream and sprinkles and if that still isn't enough how about stuffing all of those sweet ingredients into a moist, chewy, warm brownie! Is your mouth watering yet!?! These little sundaes are so much fun and perfect because they are are individual servings! So what are you waiting for, getting baking!!
Ice Cream Cone Cake Pops
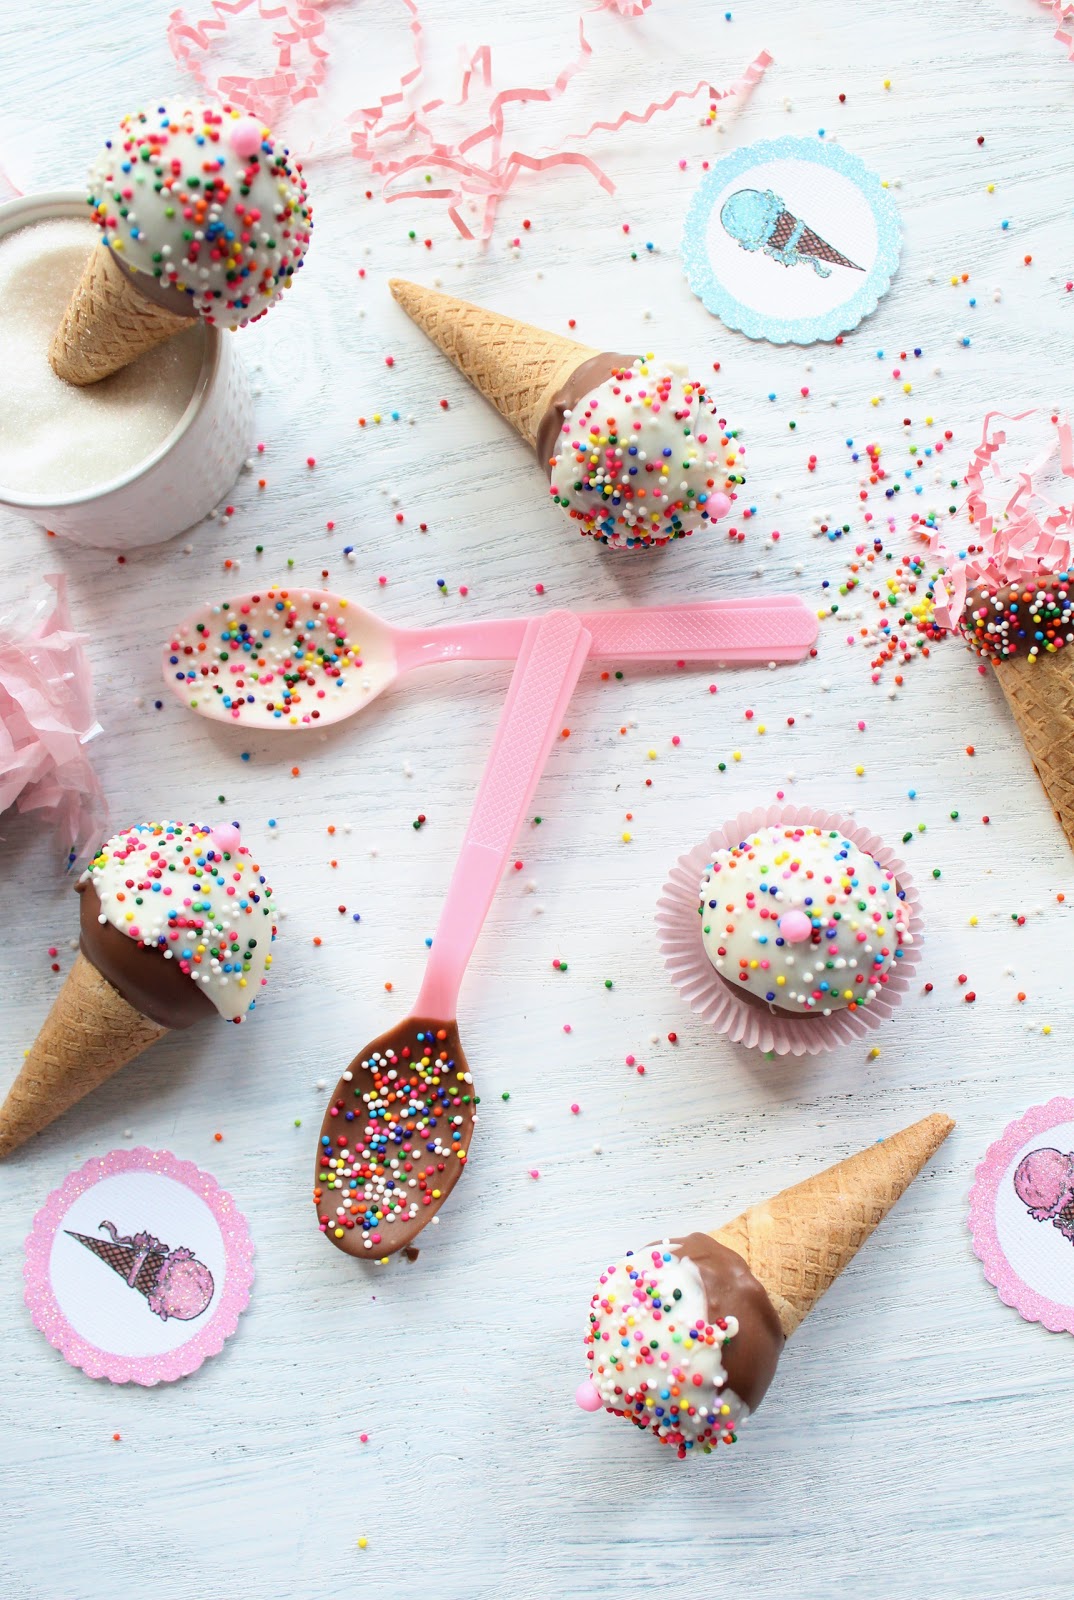
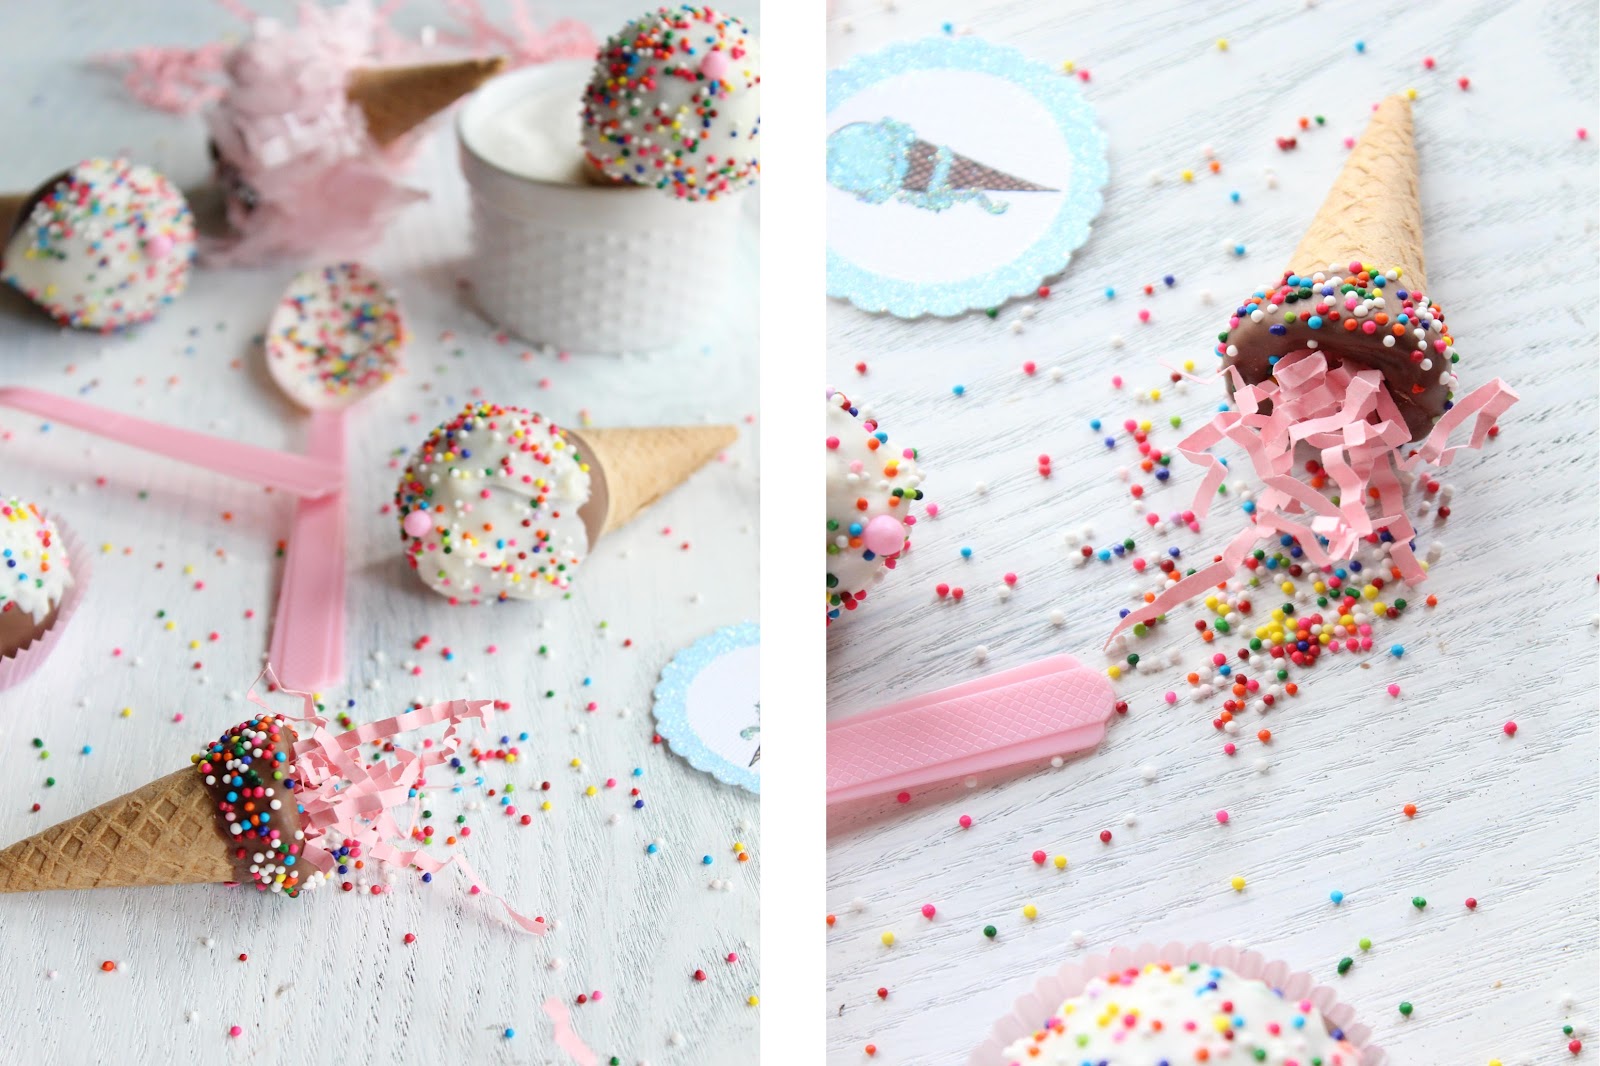
So, its national ice cream month, yay! A whole month dedicated to ice cream, what could be better!?! We thought it would be fun to share a little ice cream inspired treat with you! We are just in love with these mini ice cream cones, they are so sweet! We used them to make some ice cream cone cake pops for my twin's ice cream party a few weeks ago! They were a big hit, so we are going to share with you how we made them.
melting chocolate {chocolate and vanilla}
mini ice cream cones
non-perils
candy balls {for cherries}
{a small bowl of sugar to stand ice cream cones in so that the cake balls covered in chocolate dry upright}
These are actually very simple, especially if you have a cake pop maker!! Make your cake pops and do not put them on sticks. When they are cooled and ready to work with you can melt your chocolate {we used the wilton melting chocolate candies, found at any craft store}. Let the chocolate cool slightly to avoid blooming. Dip each cake pop {attached to a toothpick or lolli stick} After the cake pop is dipped set onto of your ice cream cone that is set in the sugar and slowly wiggle the toothpick out. {If a little hole is left just put a little bit of chocolate on the end of the toothpick and dab it over to cover.} Once the chocolate is completely cooled, you can dip the top into the melted white chocolate and immediately sprinkle with your non-perils! If you want to you can add a candy ball for a cherry! There you have it, ice cream cake pops!
{Please note we are not taking credit for the idea of an ice cream cone cake pop, this is just how we made our version}
Materials:
cake ballsmelting chocolate {chocolate and vanilla}
mini ice cream cones
non-perils
candy balls {for cherries}
{a small bowl of sugar to stand ice cream cones in so that the cake balls covered in chocolate dry upright}
These are actually very simple, especially if you have a cake pop maker!! Make your cake pops and do not put them on sticks. When they are cooled and ready to work with you can melt your chocolate {we used the wilton melting chocolate candies, found at any craft store}. Let the chocolate cool slightly to avoid blooming. Dip each cake pop {attached to a toothpick or lolli stick} After the cake pop is dipped set onto of your ice cream cone that is set in the sugar and slowly wiggle the toothpick out. {If a little hole is left just put a little bit of chocolate on the end of the toothpick and dab it over to cover.} Once the chocolate is completely cooled, you can dip the top into the melted white chocolate and immediately sprinkle with your non-perils! If you want to you can add a candy ball for a cherry! There you have it, ice cream cake pops!
{Please note we are not taking credit for the idea of an ice cream cone cake pop, this is just how we made our version}
Maia and Sophia's Ice Cream Birthday Party
This past weekend was my twins 5th birthday party! They decided on an ice cream theme...as we started planning it kind of took on a "happy" theme too! We have been working on a few new illustrations, so we did a new one for this party {available here}
We wanted the party to be playful, colorful and of course happy so we choose pinks, peach and mint green as a party palette. We made a small sweet table covered with a pink and white polka dot ruffled table cloth. We hung colorful paper poms and an made an "oh happy day" glittered bunting garland to go above the table! We filled the table with chocolate chip cookie dough cupcakes with two birthday cupcakes topped with our diy straw birthday candles and homemade marshmallows with fringe toppers! We also made ice cream cone cake pops and our favorite tiny tim cookies. Finally, we displayed a mini birthday cake on my pink milk glass pedestal {that I got for my birthday from Kellie ♥} complete with the little clothes pin cake topper we made.
One of our very favorite aspects to the party was the diy ice cream cone chandelier! {You may have seen the diy here} Our sweet friend and diy correspondent, Katie, created this project for us and we absolutely adore the way all of the different colored ice cream cones looked hanging on the white chandelier! Although we wanted to keep them all to ourselves, we let each little girl choose one to take home! But we had a few extra to keep ♥! We loved how the girls all put them around their necks...ice cream necklaces!
Since this was of course and ice cream party, we also set up a little diy ice cream topping parlor. We made
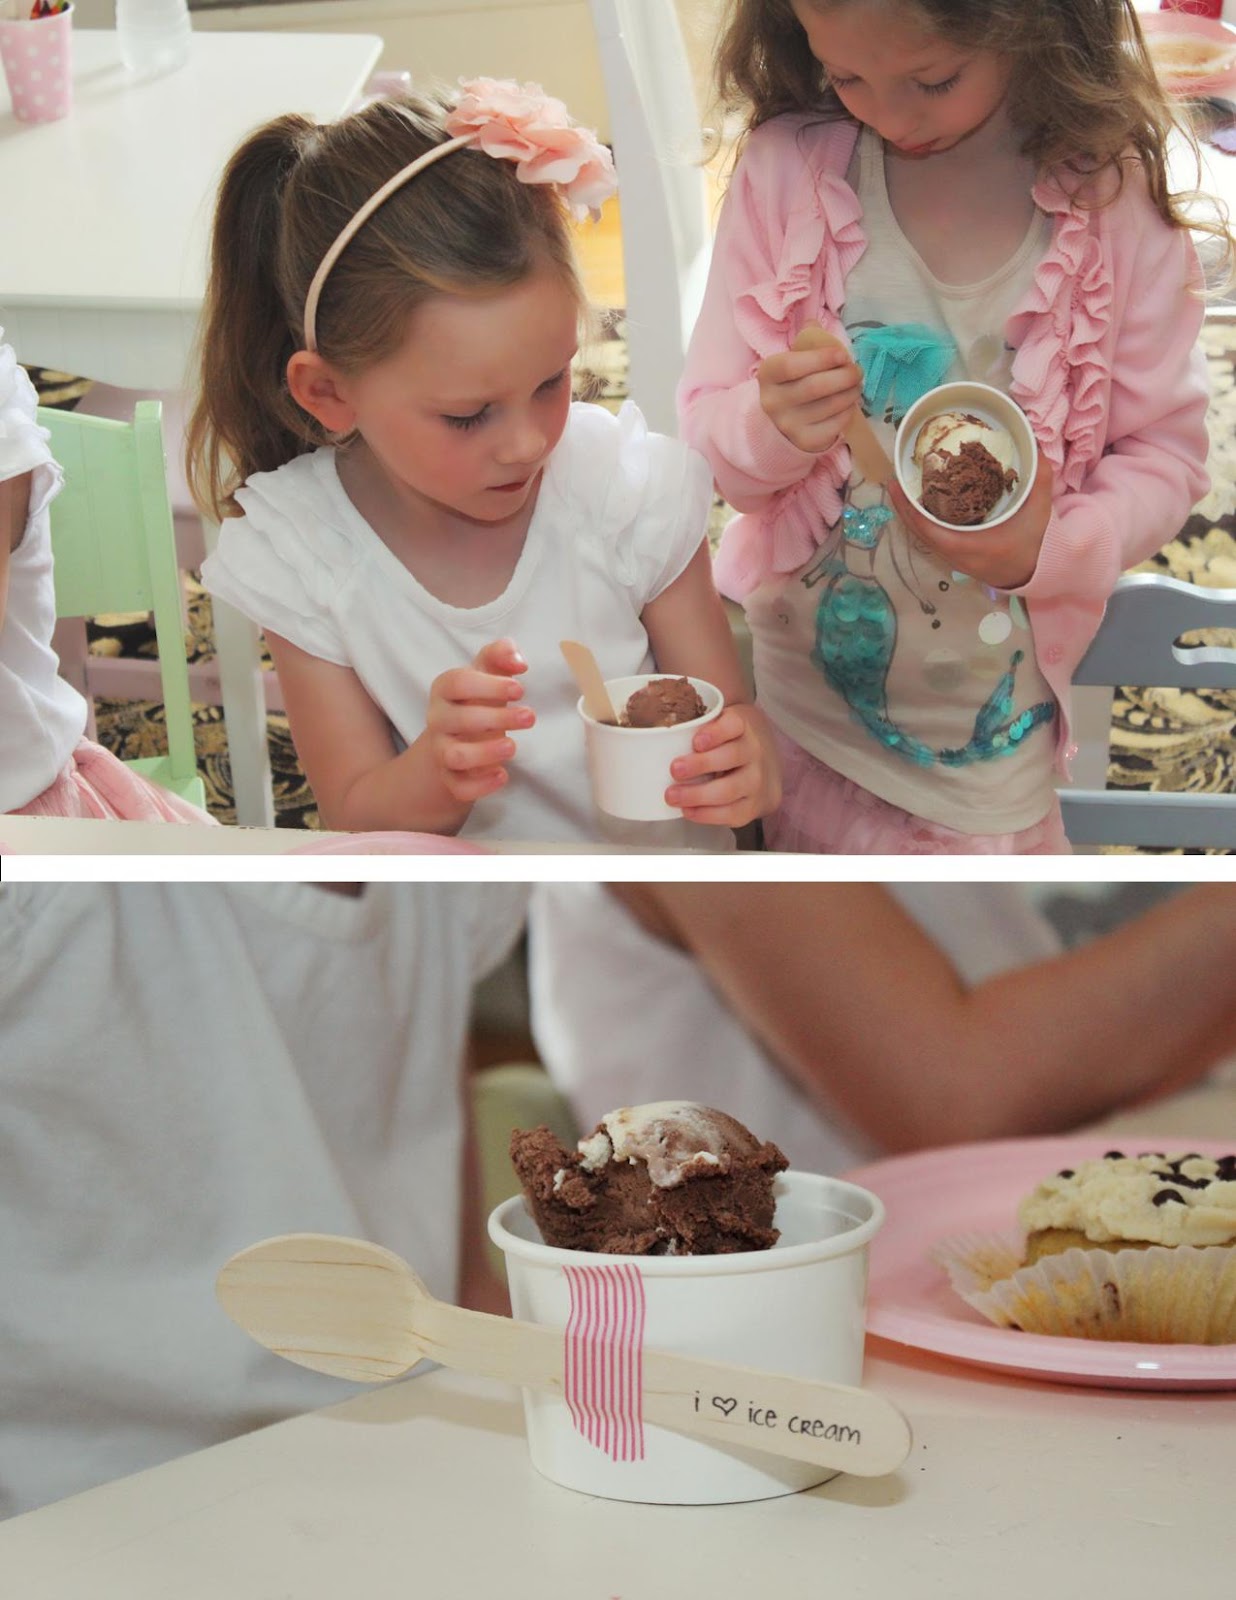
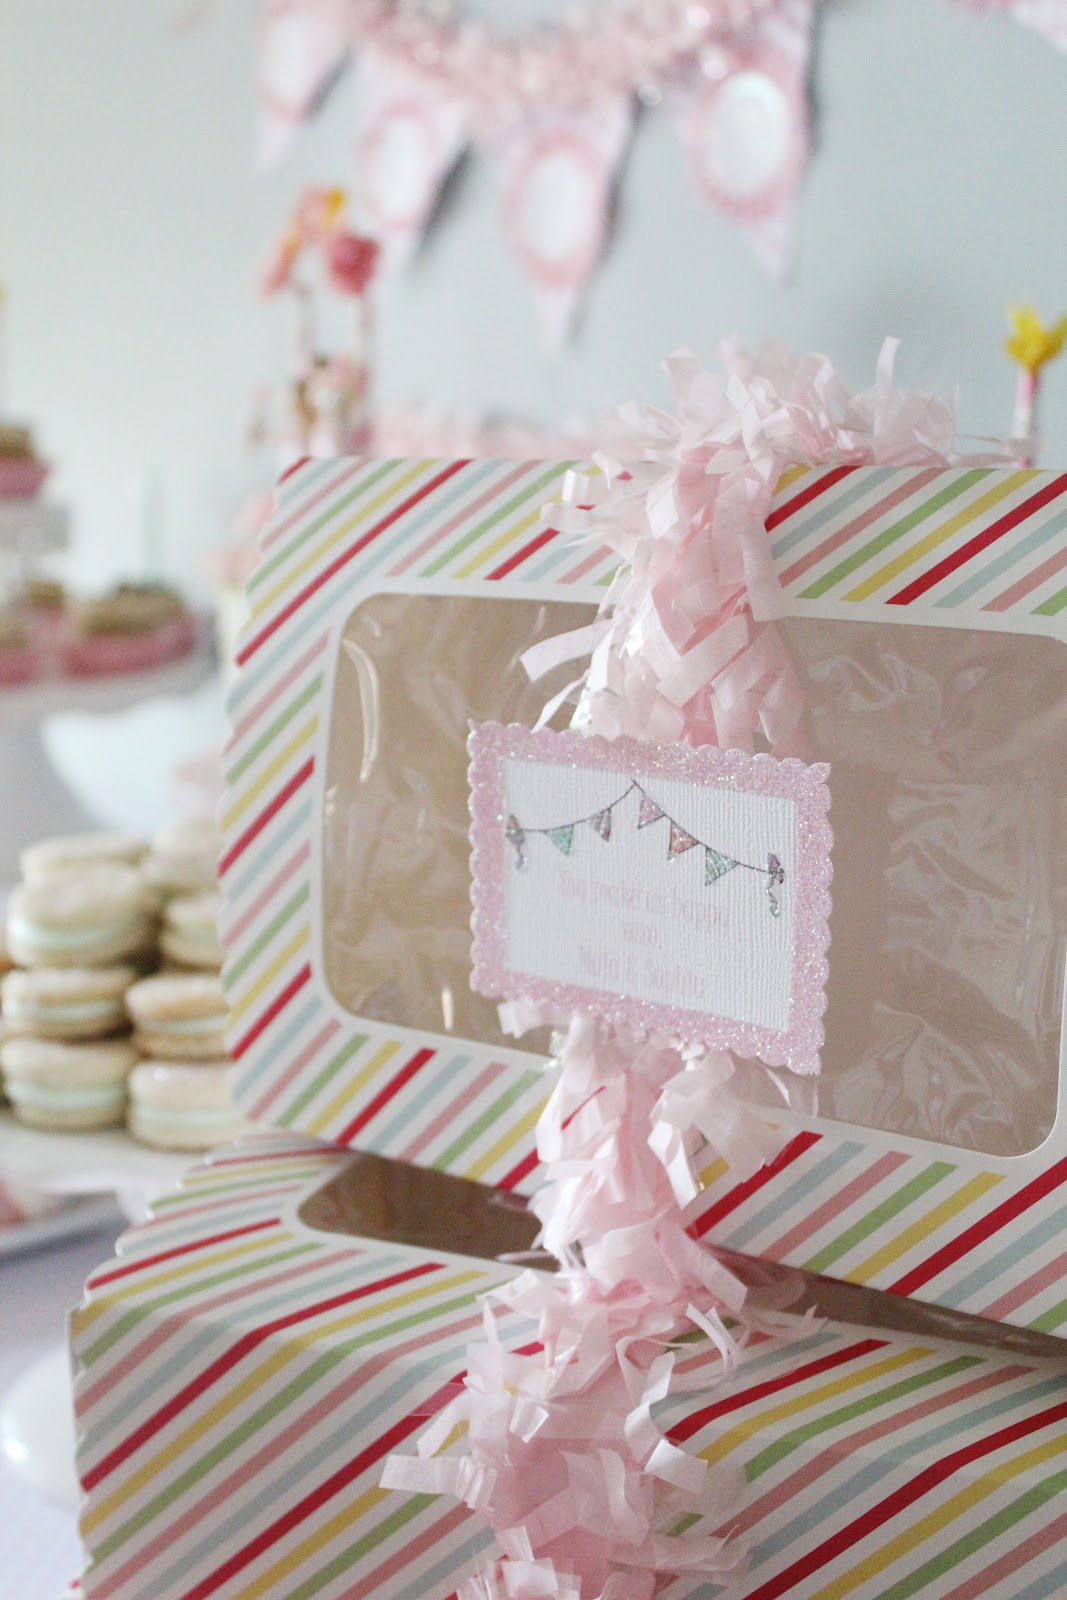
an oversized cupcake flag that said "make your ice cream happy"and coordinating ice cream topping flags that we put on paper straws and stuck into the toppings. We hung a big vanilla colored pom with peach fringe over the shelf. We took white ice cream cups and taped wooden "i ♥ ice cream spoons" on them with striped washi tape! The girls got to make their own sundaes, which they loved! Then they got to fill up their bakery boxes with treats to bring home!
I love the look on Maia's face when she realized Sophia blew out the candle before she did...lol!
♥ Hope you enjoyed our party♥
styling, paper party goods, all desserts, cake topper: Icing Designs
paper poms: Paperwhite Designs
washi tape: Lilly Belle's paper and textiles
fringe: The Gilded Bee
i ♥ ice cream spoons: In the Clear
ice cream bowls, paper straws, paper flags on cake pops: Sweet Lulu
mini ice cream cones for cake pops: Layer Cake Shop
take home boxes: Martha Stewart
DIY Ruffled Ice Cream Cones
We are so excited to share this diy with you, if you are planning an ice cream party believe us these are just the sweetest things to let each child take home with them! Our amazing diy correspondent, Katie came up with this project for us and we just fell in love! We ended up hanging pink, peach and mint green ones from a white chandelier and the looked so cute and really added to the decor of the party! The little girls just adored them and were so excited when we let them have one! Most of them put them around their necks and pretended they were ice cream necklaces, it was so cute!
Materials:
2 1/2" styrofoam balls
1 1/2 yards of lightweight cotton fabric
Sewing machine or needle and thread
Hot glue gun/glue
Glue
Scrapbook paper
Cone template
Polyester stuffing
Ribbon
Pins
Cut fabric into strips about 44" long x 1.5 " wide using pinking shears. Sew down the middle of the strip, ruffling fabric as you go with sewing machine. You can also ruffle the fabric by hand if you do not have a sewing machine. Your finished ruffle should be 8" long. You could also use pre-ruffled fabric or ruffle trim if you do not want to make your own!
Trace cone template onto your paper and cut out. Glue edges to make cone shape. I recommend not using hot glue for this step since you need a bit of extra time to get the edges together just right. Fill your cone with stuffing to help hold the shape.
Cut a circle roughly 8" in diameter out of your fabric. Wrap the fabric around the ball and hot glue to bottom, gathering as you go. Do not worry about how the bottom looks, it will be hidden inside your cone.
Place hot glue around inside edge of your cone and stick the covered styrofoam inside. Hot glue your ruffle around the top of the cone, twisting as you go around. Be sure to glue it to both the paper and the styrofoam ball. If you would like to hang the cones, cut ribbon to desired length and use a pin or hot glue to secure it to your ice cream!
New Ice Cream Party Collection
This weekend is my twins birthday party and they wanted an "ice cream" theme! We have been in the process of creating a few new designs. Their birthday paper party goods are one of the new items coming soon to our shop! We are really excited to share this collection, it is really cheerful, colorful, fun and of course glittery! We hope you like it, can't wait to share the party with you next week!
Subscribe to:
Posts (Atom)